


Open the Apple menu and click About This Mac (or System Settings → General → About on newer Macs) to see your Memory and Storage totals immediately. If you want to check what’s actively using your RAM right now or need exact hardware specs, Activity Monitor and System Information give you that detail. Both tools ship free with every MacBook.
TL;DR:
- The most straightforward way to check RAM on newer macOS versions is through System Settings, while older versions show it in About This Mac; both methods take only a few seconds.
- Storage space can be viewed within the same About window or through the Storage tab in System Settings, with the Manage panel offering targeted cleanup suggestions.
- Activity Monitor provides real-time insights on memory pressure, usage, swap, and compression, helping identify if high RAM demand causes slowdowns.
- Advanced hardware details like memory type and speed are accessible via System Information, Disk Utility, or Terminal commands, useful for diagnosing or preparing for upgrades.
- Upgrading RAM on Apple silicon Macs is impossible, so persistent memory pressure suggests it may be time to consider a hardware upgrade or storage expansion instead.
Table of Contents
- How to Find MacBook RAM (Step-by-Step for Every macOS Version)
- How to Check Your MacBook’s Storage and Read the Storage Pane
- How to Check Memory Usage and Spot Memory Pressure
- Advanced Checks: System Information, Disk Utility, and Terminal
- What to Do If Your RAM or Storage Is Running Low
- Sell Your MacBook for Cash Instead of Fighting Its Limits
- Sources
- FAQ
How to Find MacBook RAM (Step-by-Step for Every macOS Version)
The path to your RAM total depends on which macOS version you’re running, but neither route takes more than a few seconds.
If you’re on macOS Ventura (13) or later, follow this path:
- Click the Apple logo in the top left corner of your screen.
- Select System Settings, then click General in the sidebar.
- Click About. Your total RAM appears next to “Memory,” listed as something like “16 GB.”
If you’re running an older version of macOS (Monterey or earlier), the process looks slightly different but lands you the same information:
- Click the Apple menu.
- Select About This Mac.
- Look at the Overview tab, where “Memory” shows your installed RAM.
According to MacPaw’s guide on memory and storage, this is the fastest confirmed route on both current and legacy macOS releases. Once you see the number, note whether your Mac runs Apple silicon (M1, M2, M3, or M4) or an Intel chip, since that detail determines whether you can add memory later. Apple silicon Macs solder RAM directly to the logic board, while some older Intel MacBook Pro models allowed user-installed upgrades.
For module-level detail, such as memory type and, on some models, speed, hold the Option key and click the Apple menu, then choose System Information. This is also where you’d see an “Upgrade memory” pane if your specific model supports it.
How to Check Your MacBook’s Storage and Read the Storage Pane
Finding your storage capacity uses a nearly identical path to checking RAM, and the same About window holds both.
On macOS Ventura and later:
- Apple menu → System Settings → General.
- Click Storage. You’ll see a color-coded bar breaking down your drive by category, such as Apps, Documents, Photos, and System Data.
- Click Manage or the info icon next to a category for large-file details and cleanup suggestions.
On older macOS versions:
- Apple menu → About This Mac.
- Click the Storage tab to see the same color-coded breakdown.
Apple’s own storage settings display exactly how much space each category consumes, and the Manage panel offers targeted recommendations rather than leaving you to guess what’s safe to delete. A few terms in that pane trip people up regularly:
- Free space means physically unused disk space right now.
- Available space includes free space plus “purgeable” files macOS can automatically remove when needed, like old iCloud caches.
- Purgeable storage covers temporary files, caches, and downloaded content the system will clear on its own if you’re running low.
Your MacBook’s drive runs on Apple’s APFS format, which organizes storage into containers and volumes rather than one flat disk. This is why the “System Data” category sometimes looks bloated. It often includes logs, caches, and temporary files that build up over time.
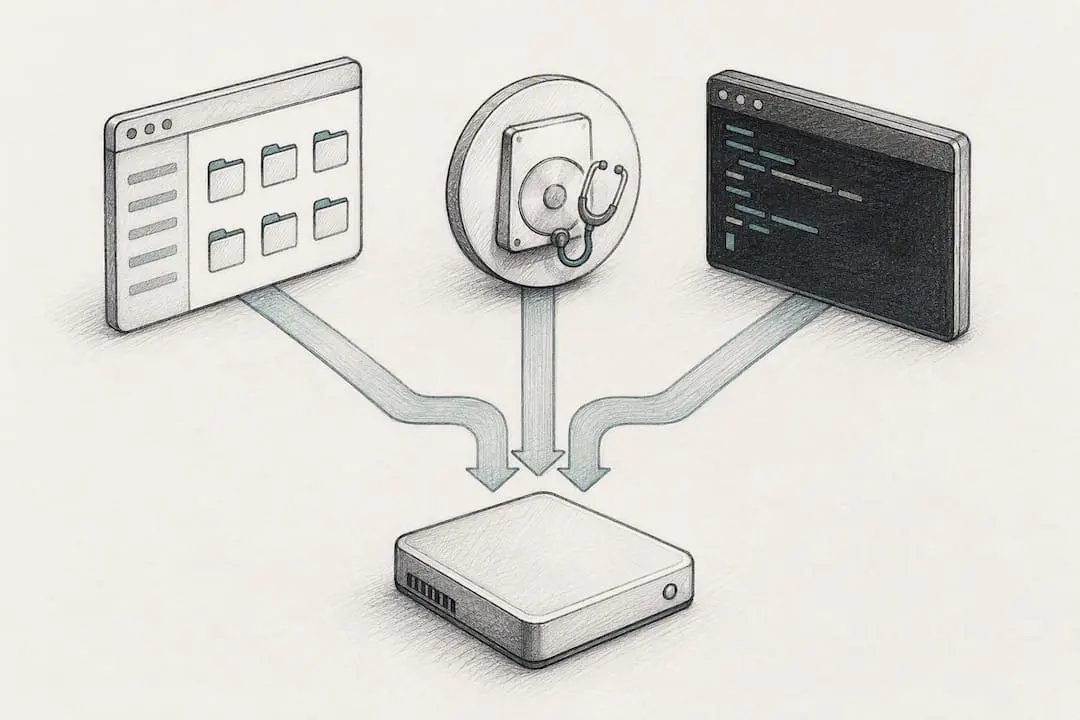
If you want to double check the numbers outside the Storage pane, you have three solid alternatives. Right click your Macintosh HD icon in Finder and choose Get Info for a quick capacity summary. Open Disk Utility (Applications → Utilities) to inspect individual volumes. Or, if you’re comfortable with Terminal, type df -h for a readable breakdown of every mounted disk.
How to Check Memory Usage and Spot Memory Pressure
RAM totals only tell half the story. To see what’s happening with your memory right now, open Activity Monitor through Applications → Utilities, or just search for it with Spotlight (Command + Space). Click the Memory tab at the top.
You’ll find a few key readouts worth understanding:
- Memory Pressure graph: green means you’re fine, yellow suggests some strain, and red signals your Mac is actively struggling to keep up with demand.
- Memory Used: how much RAM your open apps and processes currently occupy.
- Swap Used: data macOS temporarily shifted to disk because physical RAM ran out. Consistently high swap usage is a clear sign you need more memory or fewer open apps.
- Compressed Memory: inactive data macOS compressed to free up space without fully closing an app.
Many performance complaints people blame on a “dying” Mac actually trace back to memory pressure from too many open browser tabs or background apps, not failing hardware, according to Backblaze’s breakdown of RAM versus storage. If your pressure graph runs yellow or red often, closing unused apps helps immediately. If it’s a persistent pattern rather than an occasional spike, that’s a sign your workload has outgrown your RAM.
Pro Tip: Quit apps from the Dock or Command+Q instead of just closing windows. A closed window often still runs in the background and holds onto memory.
Keep in mind that Apple silicon Macs can’t be upgraded after purchase, so persistent memory pressure on those models usually means it’s time to adjust your workflow or consider a machine with more RAM built in from the start.
Advanced Checks: System Information, Disk Utility, and Terminal
When the About window isn’t specific enough, three built-in tools go deeper.
- System Information: Option-click the Apple menu and select System Information directly. Under the Hardware section, you’ll find your exact memory configuration, and on models where Apple exposes it, RAM speed. This is also where full storage and APFS container details live, useful before selling a machine or diagnosing a hardware issue.
- Disk Utility: open it from Applications → Utilities to view every volume on your drive, including hidden APFS containers. If a volume shows errors or you’re troubleshooting odd storage behavior, select the disk and run First Aid to check for and repair file system issues.
- Terminal: for a fast text-based summary, type
df -hto list all mounted volumes with used and available space. For full hardware specs, runsystem_profiler SPHardwareDataType. For memory-specific details, runsystem_profiler SPMemoryDataType, which lists installed memory slots and configuration, according to Macworld’s guide to checking Mac specs.
These three methods rarely disagree with what About This Mac shows, but they matter most when you need documentation, such as confirming specs before a repair, an upgrade quote, or a sale.
What to Do If Your RAM or Storage Is Running Low
Once you know your numbers, the next step depends on what’s actually tight.
If storage is the problem, work through these in order:
- Open Storage → Manage and follow Apple’s built-in recommendations first, since they’re safer than manually deleting system files.
- Clear out your Downloads folder and empty the Trash, which doesn’t happen automatically.
- Move large files, like old videos or photo libraries, to an external drive or iCloud.
- Uninstall apps you haven’t opened in months rather than just deleting their icons from the Dock.
If memory pressure is the issue instead, closing unused apps and browser tabs usually brings the pressure graph back to green within minutes. Reducing the number of browser extensions running in the background helps too, since each one quietly consumes RAM.
Pro Tip: Before deleting anything manually from System Data, use Apple’s Manage panel first. Manually removing the wrong system file can affect macOS stability.
If you’ve tried all of this and you’re still hitting a wall, that usually means the machine has hit its ceiling. Many Apple silicon MacBooks can’t have RAM added after purchase, and while storage can be extended externally, a cramped internal drive on an older machine sometimes isn’t worth fighting anymore. At that point, upgrading to a MacBook with more built-in capacity or selling the current one becomes the more practical move.
Sell Your MacBook for Cash Instead of Fighting Its Limits
If you’ve gone through every fix and your MacBook still can’t keep up, especially on an Apple silicon model where the RAM is soldered in for good, upgrading your machine often makes more sense than squeezing more life out of one that’s maxed out. There are alternatives to online resale sites and shipping-based trade-in programs that offer in-person inspection and a cash offer on the spot, avoiding boxing up a laptop and waiting weeks for a check.

Selling makes the most sense in a few specific situations: your storage is chronically full despite cleanup, your RAM can’t be upgraded and constantly runs under pressure, or you simply need a machine with more headroom for your work. Before you bring your MacBook in, back up your files, sign out of iCloud and Find My, and erase the drive through System Settings → General → Transfer or Reset. That protects your data and makes the transaction faster on both ends.
Bring your device to sell your MacBook in Miami for a same-day cash offer, or check what We Buy Electronics Miami buys if you’re weighing your MacBook against other electronics sitting around unused.
Sources
For the source steps behind this guide, Apple’s own documentation covers freeing up storage space and viewing available storage across APFS volumes in detail. For a plain-language explanation of memory versus storage, Backblaze’s comparison is worth bookmarking.
FAQ
How Do I Check My MacBook’s Storage and RAM at the Same Time?
Open the Apple menu and click About This Mac on older macOS, or go to System Settings → General → About on Ventura and later. Both Memory and Storage totals appear in that same window, so you never need to check them separately.
How Do I Find Out What RAM My MacBook Has?
Click the Apple menu, then About This Mac (or System Settings → General → About), and look for the “Memory” line showing your total RAM in gigabytes. For module-level details like speed, Option-click the Apple menu and open System Information instead.
Where Do I Find RAM Information on a Mac?
RAM details live in the same About window as storage. It is accessible through the Apple menu on every version of macOS. Power users can also check System Information for exact configuration details.
What Does “System Data” Mean in the Storage Breakdown?
“System Data,” sometimes labeled “Other,” includes caches, logs, and temporary files that build up during normal use rather than a specific app or file type. It’s often larger than expected but usually shrinks on its own or after using Apple’s Manage recommendations.
Can I Upgrade RAM on Any MacBook?
Only certain older Intel MacBook models allow user-installed RAM upgrades. Apple silicon Macs, including current M-series models, have memory soldered directly to the logic board and cannot be upgraded after purchase.
